Showing posts with label Celebrate. Show all posts

Friday, January 10, 2020

Love Ya, Puffins!

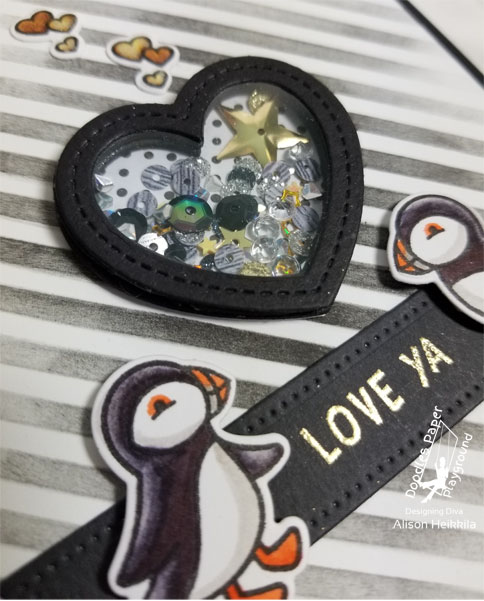
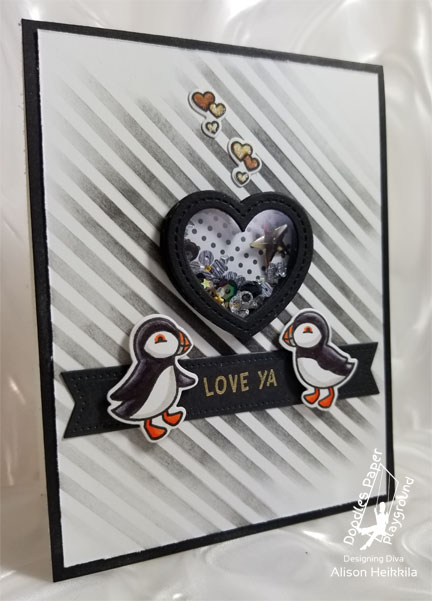
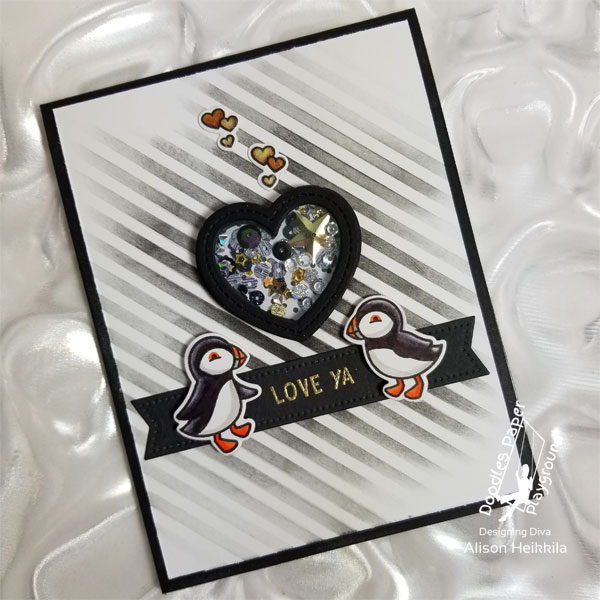
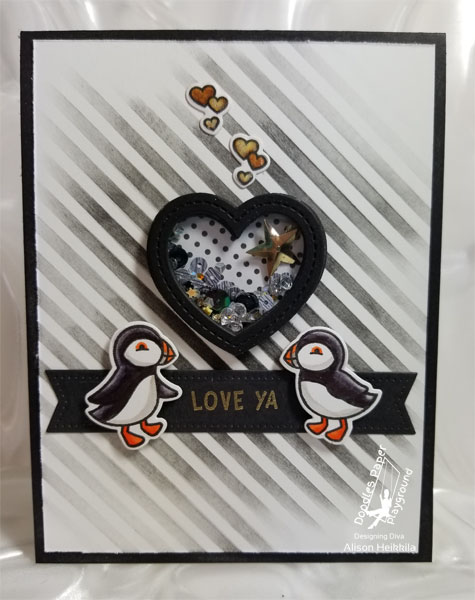
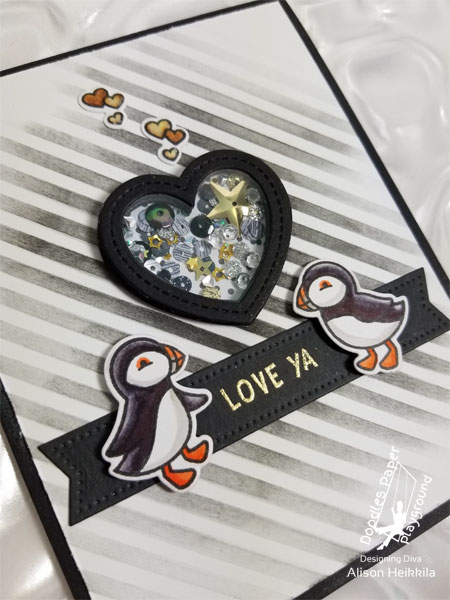
Hello! Alison here and I have a new shaker card to share with you that is great for many occasions, and it's perfect for a guy. Yup. A shaker that's good for a guy! I used the Celebrate Sparkle Blend from Doodles Paper Playground on it because it's all metallic, plus black. It's just perfect for the look I was going for.
I recently acquired the new Stud Puffin stamps and dies from Lawn Fawn and decided it would be fun to use them on a black and white card. I wasn't sure what I wanted to do exactly, so I started by coloring the puffins. I also knew I wanted to use the new Lawn Fawn Heart Shaker Gift Tag Set, as my shaker element.
As thing started to come together, I knew I needed something in my background. Enter the Simon Says Stamp Diagonal Stripe stencil. I inked it with VersaMark ink very carefully, using a back and forth motion with my blending brush, instead of circular. If I would have done a circular motion, I would have moved the delicate stripes, causing my image to lose it's cripsness. As it is, it isn't quite perfect, but I like it just the same. This would have been the perfect time to have Pixie Spray on hand, but alas, I don't own it. I kept the color concentrated in the middle and faded it as it went towards the outer edges.
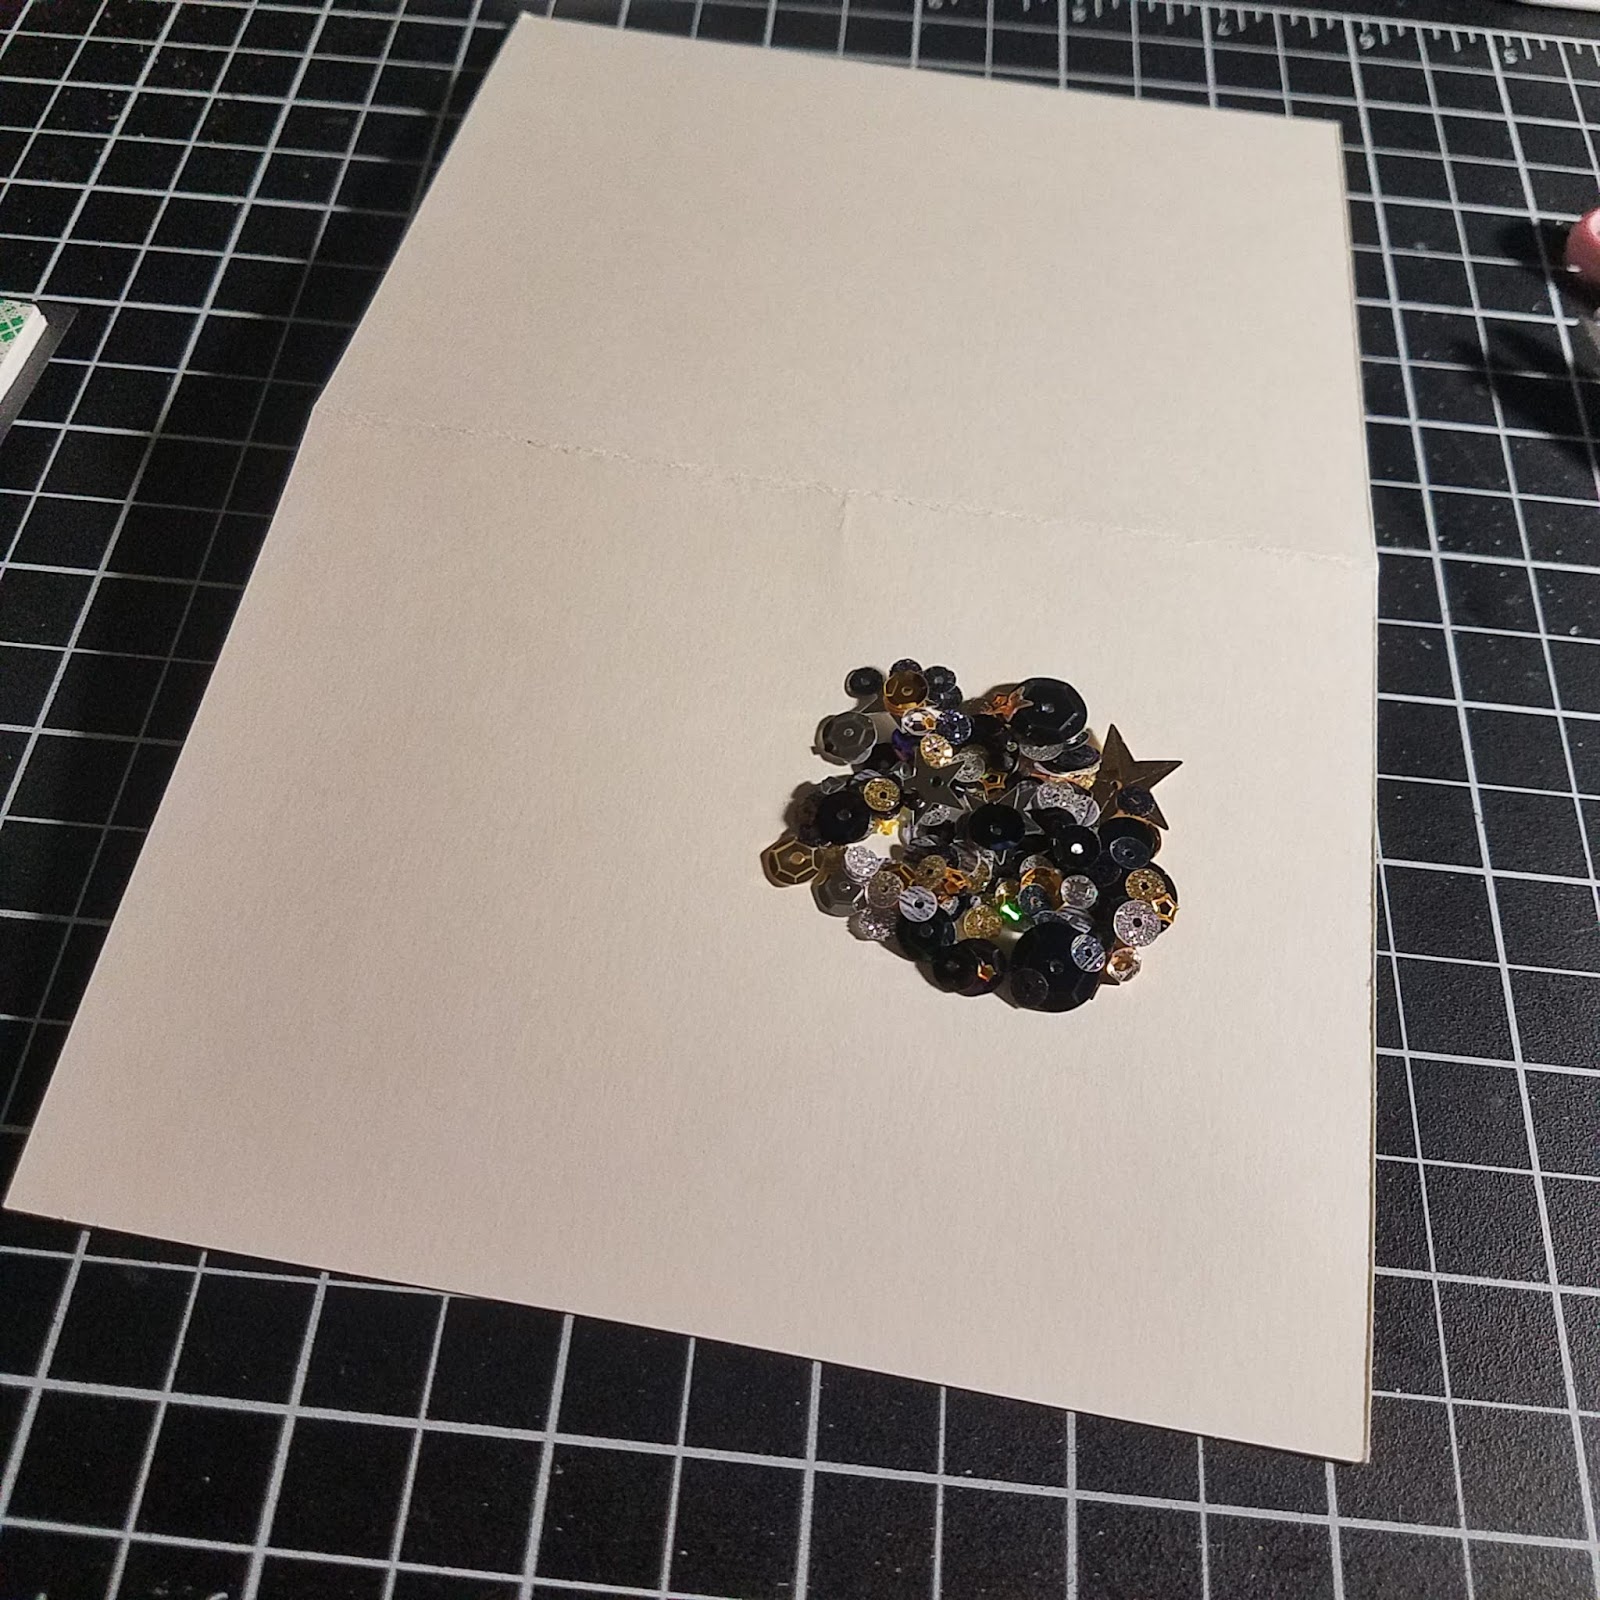
Above, you can see how pretty the Celebrate Sparkle Blend is. You've got glitter sequins, large gold stars, striped sequins, and oil slick colors. It's quite elegant. I embossed my sentiment on an Avery Elle banner die with Detail Gold embossing powder from Stampendous. I also added some sparkle to the floating hearts above my shaker with a Sakura glitter pen.
Before I added my decorated panel to my card base, I inked the edges to solid black with VersaFine Clair Ink in Nocturne. I wanted a rich black so that it appeared that my card was actually black, but I wanted to maintain a white base.

I love how this card turned out. It's not girly or feminine, and it has just the right amount of sparkle and shine. I'll be back very soon with another project. Please be sure to visit the Doodles Paper Playground Blog to see more of what the team has been creating. Thanks so much for stopping by. Have an inspiring day!
Friday, September 27, 2019

Steampunk Window

Hi, it's Phoenix. Today I am here with my Steampunk Window card. I am really excited about this card that I thought up myself. I knew that I wanted to make something with the Grid Window cover die from Mama Elephant, so I decided to make a steampunk window. I really like gears and I thought it would look really good with a Sparkle Blend from Doodles Paper Playground.
I started off by die cutting a Reveal Wheel front (from Lawn Fawn) for under the Grid Window with gray cardstock. After that, I used a paper cutter to trim a hole in the front for the acetate that would expose the actual wheel that I was going to add underneath. Then I die cut the Reveal Wheel itself, and I embossed a Gears stencil from Dreamweaver (Stampendous) on it with a die cutting machine. I wanted to make the gears stand out so I applied some metallic rub-on pigment.
Next I glued on some watch parts that my mom had gotten from her dad a long time ago. I glued them on with On Point Glue. I then die cut the Grid Window and glued more watch parts on to it. Then I looked through all of our Sparkle Blends to see which one i wanted to use. There were a lot of good options like All That Glitters, Gingerbread Man, and Bells are Ringing, but I thought that Celebrate would look best with the steampunk theme.
The Celebrate Sparkle Blend is full of metallic colors so I thought that it would work out really well. I really like the coppery sequins in it. Once I had added the sequins, I decided to put it on to the Reveal Wheel window. I glued the window on to the card base, but I thought that it needed a little bit more, so I put more of the metallic rub-on pigment on the edge and glued on a few more sequins.
I am extremely satisfied with how it came out because I really like steampunk things and I think it's a cool way to use the Reveal Wheel. I think it's a lot of fun to come up with new ways to use paper crafting supplies. Thanks for visiting. Have a good day!

Friday, January 11, 2019

YOU'RE MY SHINING STAR

YOU'RE MY SHINING STAR 


☆☆☆☆☆☆☆☆☆☆☆☆☆


I stamped my Gorjuss girl stamp (# 48 Dreaming) with copic friendly ink.
I love these stamps so much! They are super cute!


I colored her with copic markers and used my scan and cut to cut her out.


I die cut my panel and created my shaker window.


I white heat embossed the sentiment.


I laid out my sequins and added my top panel.


I attached my girl to the side.

I finished the card by adding some matching sequins to the front. 


On this card I used sequins from 
Doodles Paper Playground Celebrate Sparkle Blend.
It is full of glitter sequins and stars, two of my favorite things!

There are more great Sparkle Blends and a large assortment 
of items for all your crafty projects over at White Rose Crafts!

Thank you so much for stopping by!
Now, Get Out There and Create Something Amazing!!


☆ Facebook ☆ Instagram ☆ YouTube ☆

Saturday, January 5, 2019

Best Wishes Shaker

Hello! Alison here. I recently received the Best Wishes die set from The Stamps of Life from my dear friend Amber. I knew I had to make it into a fun shaker as soon as I saw it. I decided to go with the all-purpose "Celebrate" Sparkle Blend, though I could have gone with pretty much any of them. The new "Conversation Hearts" would have been a fun and colorful option, for example.

I decided where I wanted my die cut to be, and traced the area with a pencil. Then, using VersaMark ink and the Amsterdam Flourish stencil from Stampendous, I applied it to the bottom of the cardstock. I then heat embossed it with Seasonings and Golden Sand embossing Powder. I used 2 powders simultaneously, because the Seasonings powder is chunky. This stencil has some finer details, so I knew the Golden Sand Embossing Powder would fill in those little areas nicely. I also applied VersaMark ink and just the Seasonings Powder to the top of the cardstock.

After the heat embossing was done, I die cut my shaker area. I applied acetate to the back, and used gray craft foam to add thickness. I knew I was using a gray card base, so the gray craft foam would blend in perfectly.

After I completed the shaker and mounted it on to my base, I felt as though the white was too stark. So I decided to flick some Fireworks! Spray in Tuxedo Black all over. This was just what the card needed.

I love all-occasion cards like this one. I could see it being used for a birthday, a wedding, retirement, and lots of other things. The "Celebrate" Sparkle Blend, with it's gold, silver, black, and striped sequins is also great for pretty much any occasion. I'll be back soon with another project! Thanks for stopping by. Have an inspiring day!
Thursday, December 6, 2018

Celebrate with Mandalas

Hello! Alison here. I am so excited about the latest Sparkle Blend release from Doodles Paper Playground. I know, I know....I say that every time there's a release. But they are always so beautiful that it's easy to get excited about them. Today, I have 2 cards that are almost the same. They both use the brand new "Celebrate" Sparkle Blend, and they both use the Mandala Maker and  Large Wreath Builder Template from Gina K Designs and several embossing powders from Stampendous. But, the treatment of the card base is different.

You can see the shine from the different embossing powders on the card on the right, as well as the sparkle from the glitter sequins I used.

The photo above shows how beautiful and festive this Sparkle Blend is. It would be great for New Year's cards, graduations, or really any type of special celebration. I love the different sizes of stars!

I wanted to keep the mandala pretty simple and spaced out. This was more about adding the sequins to it, than having a very full mandala. I used my Tim Holtz Stamp Platform to apply the images to my cream colored cardstock, and I did each stamp on both squares at once, so that I didn't have to reposition the stamp twice. I find that making at least 2 mandalas (or wreaths) at once is a big time saver.

I stamped each image with VersaMark Ink. I did a full rotation of each stamp image before applying the embossing powder. It's not easy to see the VersaMark Ink, but if you count each time you stamp the image, you'll know that when you get to 8 (or 4, depending on your design), you'll have a completed ring. The innermost image was embossed with Champagne PearLustre Powder, the next is Detail Silver, then Hematite PearLustre, and the last is Golden Sand, which is a favorite of mine. I attached all of the sequins with On Point Glue from Imagine. It is clear, dries quickly, and is very strong. Then, for my card base on this version, I inked the edges with VersaMark Ink, and used more Champagne PearLustre embossing powder. My sentiment is from Stampendous and is embossed in Detail Silver.

I should mention that the large silver glitter sequins in the center of both mandalas are from the Bells are Ringing Sparkle Blend. For this card base, I applied VersaMark Ink in more of a messy, streaky fashion, but only to the bottom of the card. Then I heat embossed it with Detail Silver. I can always add a sentiment inside later when I decide who I am sending this card to.

I love the shine and sparkle on these cards. I can imagine making them in various colors to go with other Sparkle Blends. You can even create more intricate mandalas and use even more sequins on them. But this was my first attempt with the Mandala Maker, so I wanted to go easy on myself.

I hope that you will head over to White Rose Crafts LLC to see all of the new Sparkle Blends from Doodles Paper Playground. I'll be doing a live video soon to give you an up close look at each of them. Thanks for stopping by. Have an inspiring day!