Showing posts with label crafting. Show all posts

Friday, March 26, 2021

Pretty Dragon Fire

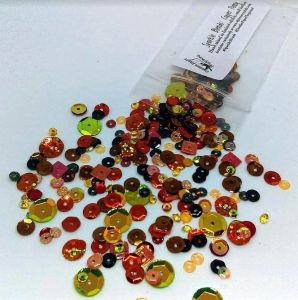
Hey friends, it's EK.  So I've pulled out my blend EK's Dragon Fire from Doodles Paper Playground and played with it today. I have heard grumblings that this mix is just a little too dark and grungy, and I wanted to show that I could brighten it up and make it feel more main stream.

I started by stamping a Stamplorations floral image onto some watercolor paper with waterproof ink.

Using a combination of both black and red watercolor pencils I filled in the flowers, to help pull the colors in the Dragon Fire blend. Then using a water brush I blended out the colors.

Using a combination of both olive and a brighter pale green, I filled in the leaves trying to brighten the image up. For the little floral buds I used a dark red violet pencil to punch up the red tones a bit.

Using an xato knife, I hand cut the shaker window.

I built up the shaker element and filled the window with EK's Dragon Fire.

I adhere the shaker window to an A2 card frame, leaving the background white, hoping to keep the image light.

The flowers looked a little drab, so I punched up their color, still using just the red and black watercolor pencils. I also added a heavy shadow around the bottom of the florals.

Finally, I added a few extra sequins in the empty space to help the card feel fully fleshed out.

What do you think? Does EK's Dragon Fire Sparkle Blend still look dark and grungy? Can you see how bold this mix can be? Let me know in the comments below. Until then, happy crafting.

Sunday, July 26, 2020

Candy Twist


This image has an empty alt attribute; its file name is img_0378-1.jpg
Hey Friends! It's EK and today, I am popping in with a little guest designing here at Doodles Paper Playground.
Earlier this month, DPP had a chance to collaborate and play with The Rabbit Hole Designs for a Christmas in July crafting palazzo, and today I am getting to play with not only DPP's recently released Sparkle Blends, but The Rabbit Hole Designs (TRHD) recently released holiday dies and stamps.
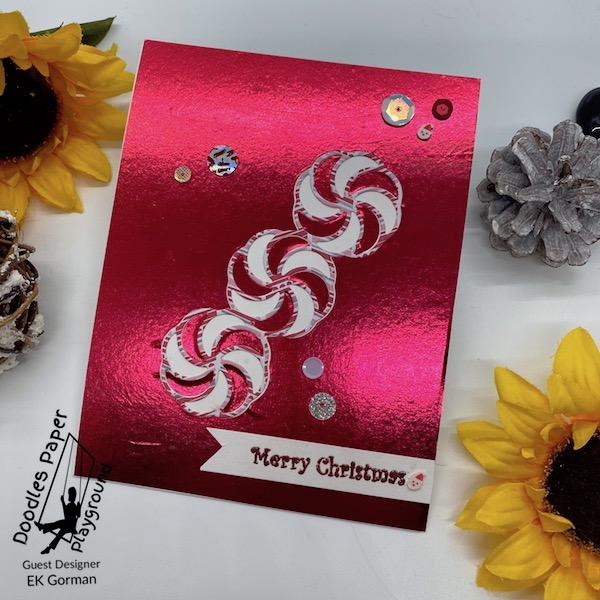
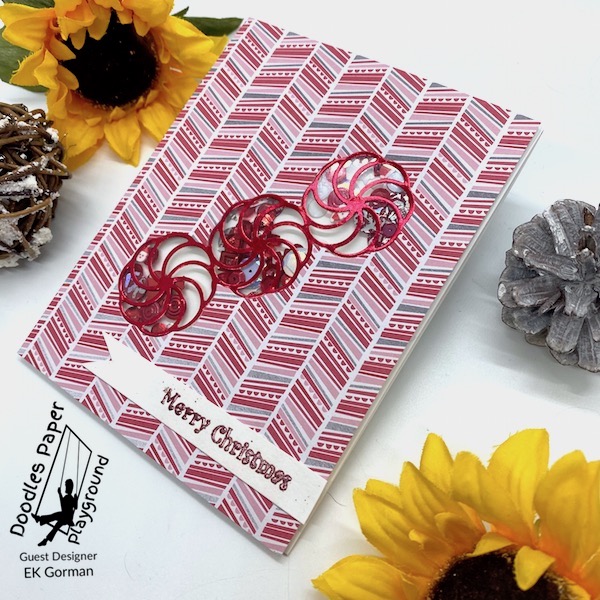
Today I am using the new Old St. Nick Sparkle Blend pack and Candy Twist die set from TRHD.
This image has an empty alt attribute; its file name is img_0343.jpg
I started my project today by die cutting two piece of crafting paper with the Candy Twist die. One piece was simply a piece of cardstock, the second a piece of red adhesive foil. I have never played the foil paper before, so, there was a bit of a learning curve. I however thought it would be really cool if I could use the die cut in each of the other projects and get a cool two for one.
This image has an empty alt attribute; its file name is img_0344.jpg
The red foil was a little hard to work with, so it simply got adhered to a piece of white cardstock. The Christmas cardstock got a piece of acetate to the back of the die cut opening.
This image has an empty alt attribute; its file name is img_0345-1.jpg
The die cuts then got adhered into the openings, and I added back a few of the candy swirl die cuts back into the openings.
This image has an empty alt attribute; its file name is img_0346.jpg
The holiday cardstock card got prepped to become a shaker card and I added the Old St. Nick Sparkle Blends got added to the opening. Both card faces were added to an A2 card.
This image has an empty alt attribute; its file name is img_0347.jpg
The cards needed a sentiment, so I stamped a sentiment from The Rabbit Hole Design's new Kringle stamp set and embossed it in red embossing powder onto some trimmed cardstock.
This image has an empty alt attribute; its file name is img_0348.jpg
The trimmed cardstock got a fishtail trimmed and added to the two cards.
This image has an empty alt attribute; its file name is img_0374.jpg
Several Old St. Nick sequins were added to the face of the red foil card, keeping it simple.
This image has an empty alt attribute; its file name is img_0375.jpg
This image has an empty alt attribute; its file name is img_0376.jpg
I figured the paper of the printed cardstock was busy enough, that I let the sparkle blends inside the shaker do the work all on its own.
This image has an empty alt attribute; its file name is img_0377.jpg
Let me know if you have a favorite card from the two today in the comments below. Until then, happy crafting!

Thursday, June 25, 2020

Cutie Pie

IMG_0340
Hey Friends!   It's EK back to guest design another Sparkle Blend project.

With 4th of July just around the corner, I wanted to make a card today that would work for the holiday, but wasn't limited to just one day of the year.  If you are going to make a good 4th of July card, you going to need to pull out your red, white, and blue, and lets be honest, there is a famous phrase about pie and America.  So I figured Doodle's Paper Playground's new Stars & Stripes Sparkle Blend packs is perfect place to jump off with for my project.

IMG_0277
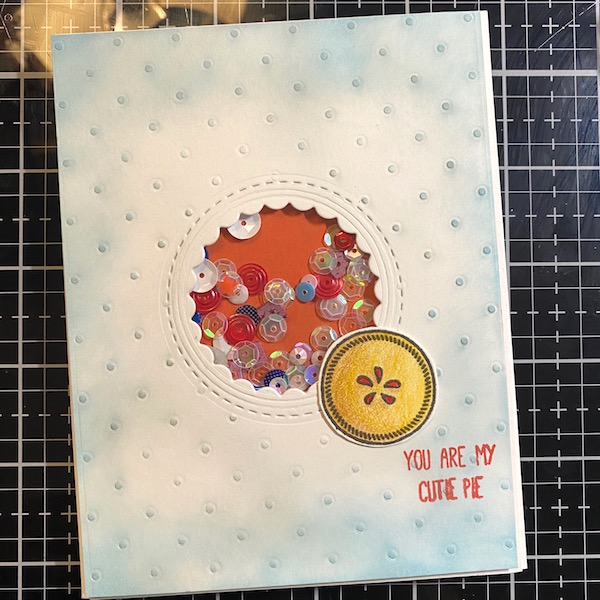
Step One:  I started off my project today by embossing a piece of cardstock trimmed to 4.25x5.5 inches.  I liked this embossing folder, because it already has a center to cut out to make a shaker card.

IMG_0278
Step Two:  I then die cut out the center hole using a die meant to create shakers.  ( I used A.muse Studio Stitched Circle Windows)

IMG_0279
Step Three:  Using some Tumbled Glass Distress Oxide, I blended some ink over the embossed cardstock.

IMG_0280
Step Four:  Adhere a piece of acetate to the opening, and build the raised portions using three dimensional tape to create the shaker card guts.  Then add the whole structure to an A2 card frame.

IMG_0281
Step Five:  I filled the opening of the card with Stars & Stripes sequins.  Then using some Candied Apple Distress Oxide, color a scrape of cardstock to fit the back of the opening.

IMG_0282
Step Six:  Stamp the image of pie onto cardstock.  (I used Avery Elle Humble Pie stamp set).

IMG_0283
Step Seven:  Color in the stamped image using colored pencils.  (I used Faber-Castell Polychromos).  Fussy cut out the image.

IMG_0285
Step Eight:  Adhere the pie to the front of the card.  Stamp out a sentiment from the same stamp set.

IMG_0286
Step Nine:  Add little details to the whole card using a tiny stamp from the same stamp set.  I used both Candied Apple and Tumbled Glass for these details.

IMG_0287
Step Ten:  Finally, add hearts from the Stars & Stripes sparkle blend pack onto the card frame.

IMG_0341
I hope you got a kick out of the unusual 4th of July card I created.  Make sure you pop over to the Doodles Paper Playground store and check out the full June release.

IMG_0342
Let me know in the comments below how you would use the new Stars & Stripes blend.  Until then, Happy Crafting.
Want to save 10% off your order, then feel free to use the code EKGORMAN10 to get a savings!

Sunday, February 16, 2020

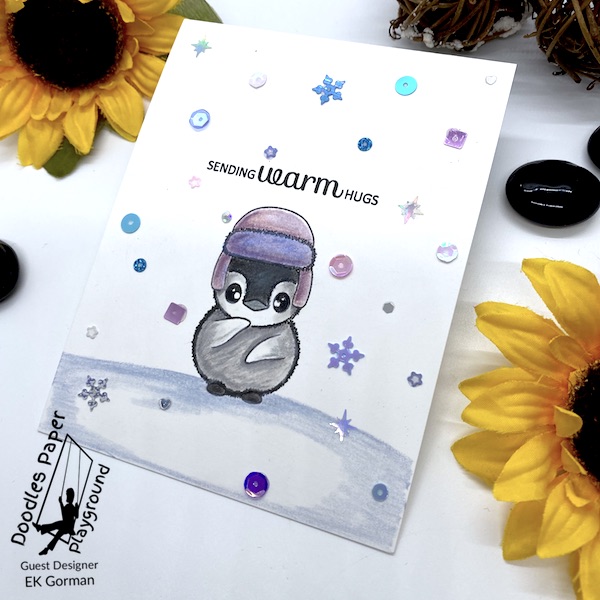
Sending Warm Hugs

IMG_E9112

Hey freinds!  It's EK, popping in to guest design today.  Did you see that Doodles Paper Playground has a brand new store front?  That's right...they have gone independent and are selling over on ETSY.  Make sure to pop by and check out the full stock that they have!

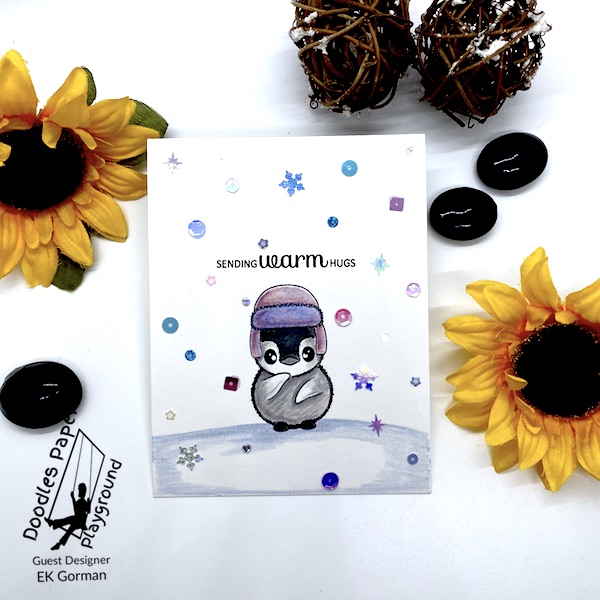
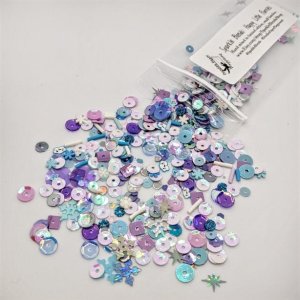
Today I am playing with one of the recently released new Sparkle Blend Collections, the Happy Little Flurries Sparkle Blends. 

Happy Little Flurries

IMG_E9113
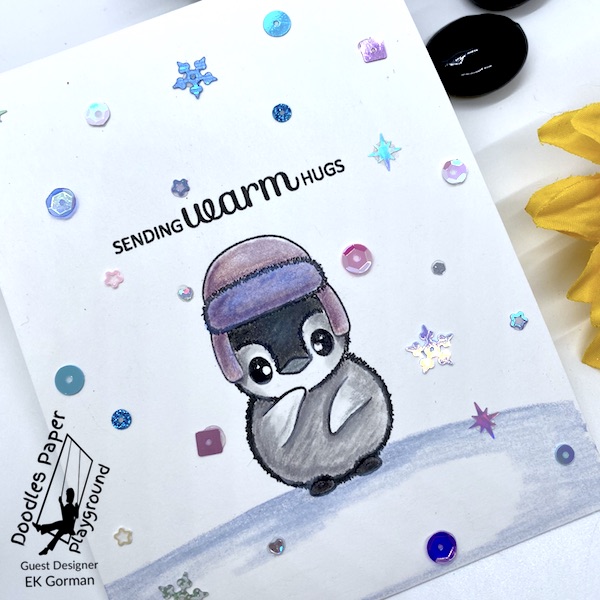
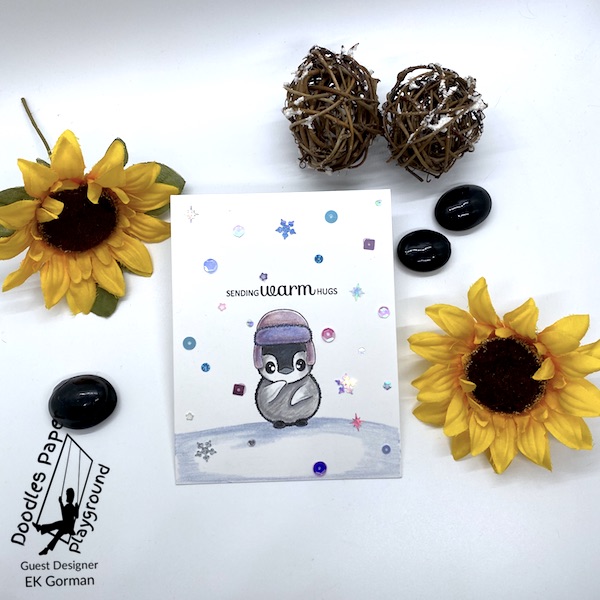
Today I used this lilac, pale blue and pale pink collection of sequins and snow bits to accent the snowflakes of this winter scene.  I am a big fan of how this came out, with all the different sized bits and glitter!

IMG_E9114
What is your favorite new Sparkle Blend mix that was released at the beginning of the month?  Let me know in the comments below! 

IMG_E9115
Until then, Happy Crafting!

Thursday, November 7, 2019

Happy Fall Y'all

IMG_8062
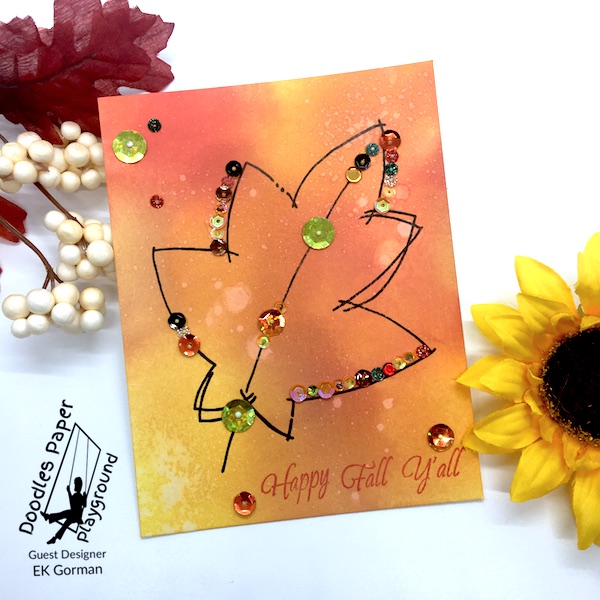
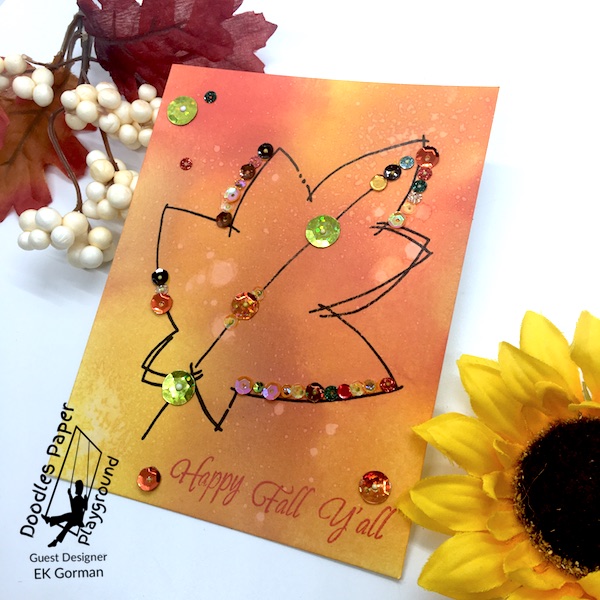
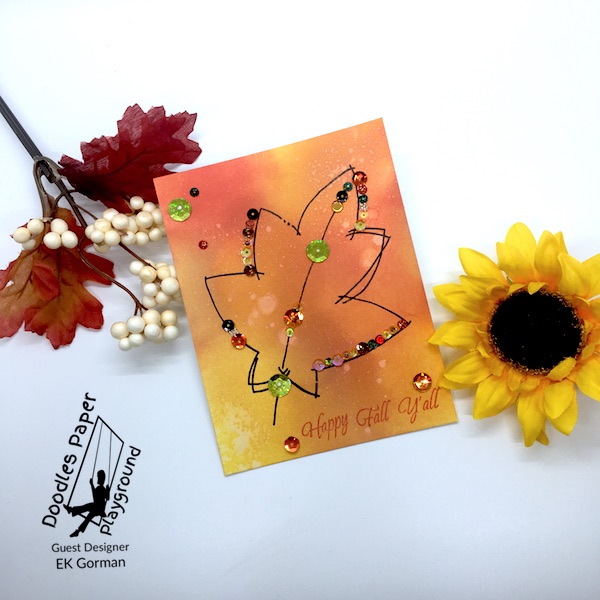
Hey Friends!  It's EK and today I am lucky enough to be guest designing here at Doodle's Paper Playground and playing with some of their sparkle blends sequins.  Today I pulled out the Copper Penny Sparkle Blends because I really feel this pack has a fun fall feel to it that is unique.

  cooper penny


IMG_8061
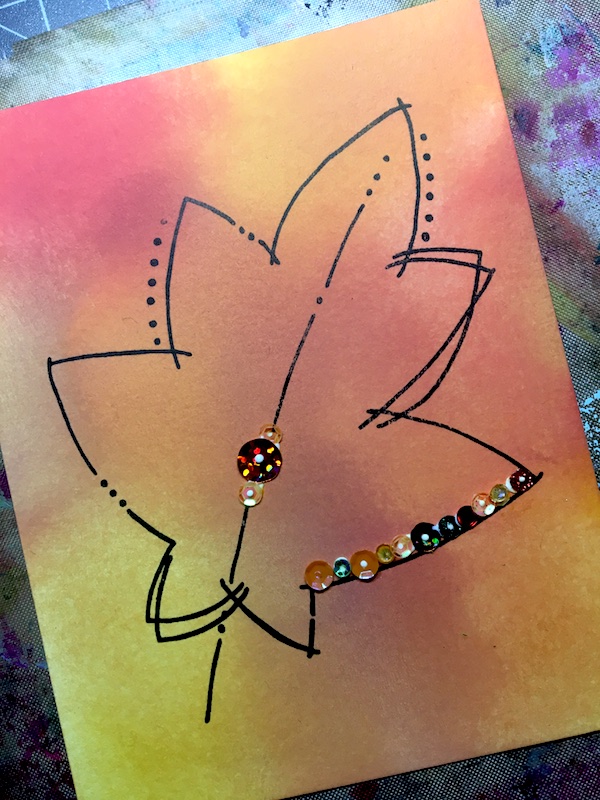
I pulled out some distress oxides today in Candied Apple, Mustard Seed, Rusty Hinge and Carved Pumpkin as well as the Stampendous stamp set Jumbo Leaves.

  IMG_8063
After all the ink blending and stamping, I added the copper penny sequins to each of the dots the stamp had left behind. 

  IMG_8064
This was such a simple card to make, but yet, I think it really has such a fun look.

  IMG_8065
Let me know in the comments below what your favorite fall sparkle blend pack is.  Until then, Happy Crafting.